Calendar View
The “Calendar” page is a user-friendly scheduler, it shows a reservation calendar with all scheduled appointments and events organized by employees, services, and locations. You can quickly find relevant data by using services, locations, and employee filters.
There are five available calendar views: “Month”, “Week”, “Day”, “List”, and “Timeline”. “Week” is the default calendar view. It displays seven columns, each representing a day of the current week.
You can navigate through the calendar booking system by clicking on the arrows in the top left corner of the calendar. By clicking on arrows, you can move one step forward or one step back (by a month or week for example). If the calendar is in the “Month” view, it will move the calendar forward/back one month. If the calendar is in “Week” or “List”, it will move the calendar forward/back one week and lastly, if the calendar is in “Day” or “Timeline”, it will move the calendar forward/back one day.
Between navigation arrows, you can click on the “Today” button to move the calendar to the current date.
You can also move the calendar to an arbitrary date by selecting a single date in the date picker that can be opened by clicking on the arrow that is displayed next to the header’s title.
Date & Time formats in the calendar booking system will be used from “WordPress Date/Time Settings” and the frequency for displaying time slots (calendar grid) on “Week”, “Day” and “Timeline” calendar views will be used from “Default Time Slot Step” setting.
“Day” and “Timeline” view display employees as columns or rows. For the “Day” view employees are rendered in the headings.
“Timeline” view provides a view with a horizontal time-axis and with employees as rows. In these two views, if an employee doesn’t have an appointment for the selected date, it will not be displayed in the column or the row. Employees’ breaks will be displayed in gray for these two views.
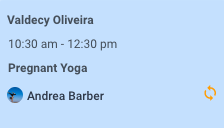
All blocks on the calendar are used to store information about appointments and events. Each appointment in the Calendar stores all information about your appointment or event. These blocks are used to provide information like the start and end time of an appointment, an employee assigned to it, location, service, customer(s), and status. Appointments are colored by the service color. Appointments that don’t take up excessive space will not show all the information about the appointments, but you can see the information by hovering over it. As for the events, they are colored in the color that you have set in “the Customize” tab for each event and marked with a small icon so you can easily differentiate them from the appointments.

Future appointments can be rescheduled by dragging the block in the calendar. Upon dragging, you will be asked to confirm the change of the appointment’s start time. It is not possible to drag appointments into the past, outside of an employee’s working hours or during an employee’s breaks. You can also click on the appointment that is in the future to edit the information from the appointment’s modal.
LIST VIEW
Editing a single appointment
It often happens, that you need to make changes to an existing appointment. Maybe the customer needs to reschedule their appointment, or maybe an employee is unexpectedly out of the office. To edit an existing appointment, simply click on the “Edit” button to the right of the appointment you want to change.
The “Appointment” page shows all the information about individual appointments. To specify the number of records that are to be displayed, select the required number in the “Default items per page” in the “General Settings”.
With the search input, you can search for appointments by customer’s name, employee’s name, or service’s name.

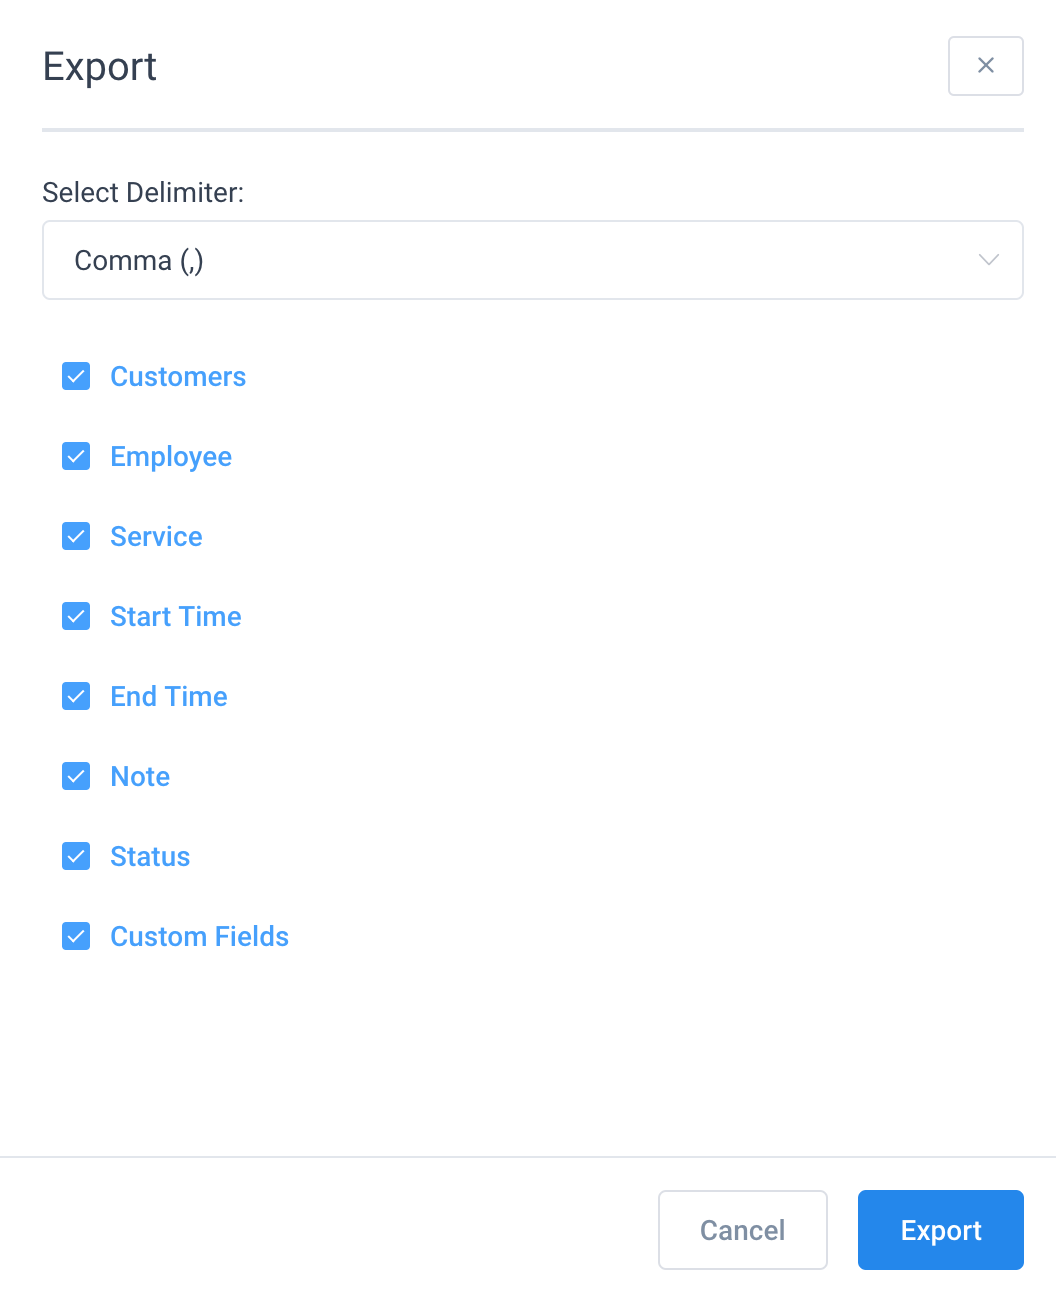
Your appointments can be exported as a CSV for reporting. At the top right of the “Appointments” page, next to the search input, tap the “Export” icon button. Clicking on the “Export” icon button opens a dialog that allows you to choose the delimiter used for CSV and select the columns you’d like to export. When you are ready tap on the “Export” button in the dialog to download the CSV file.

With filters that appear at the top of the page, you can narrow down appointments by common characteristics such as date, employees, customer, services, or status. The date filter is predefined by the period of seven days starting from the current date.

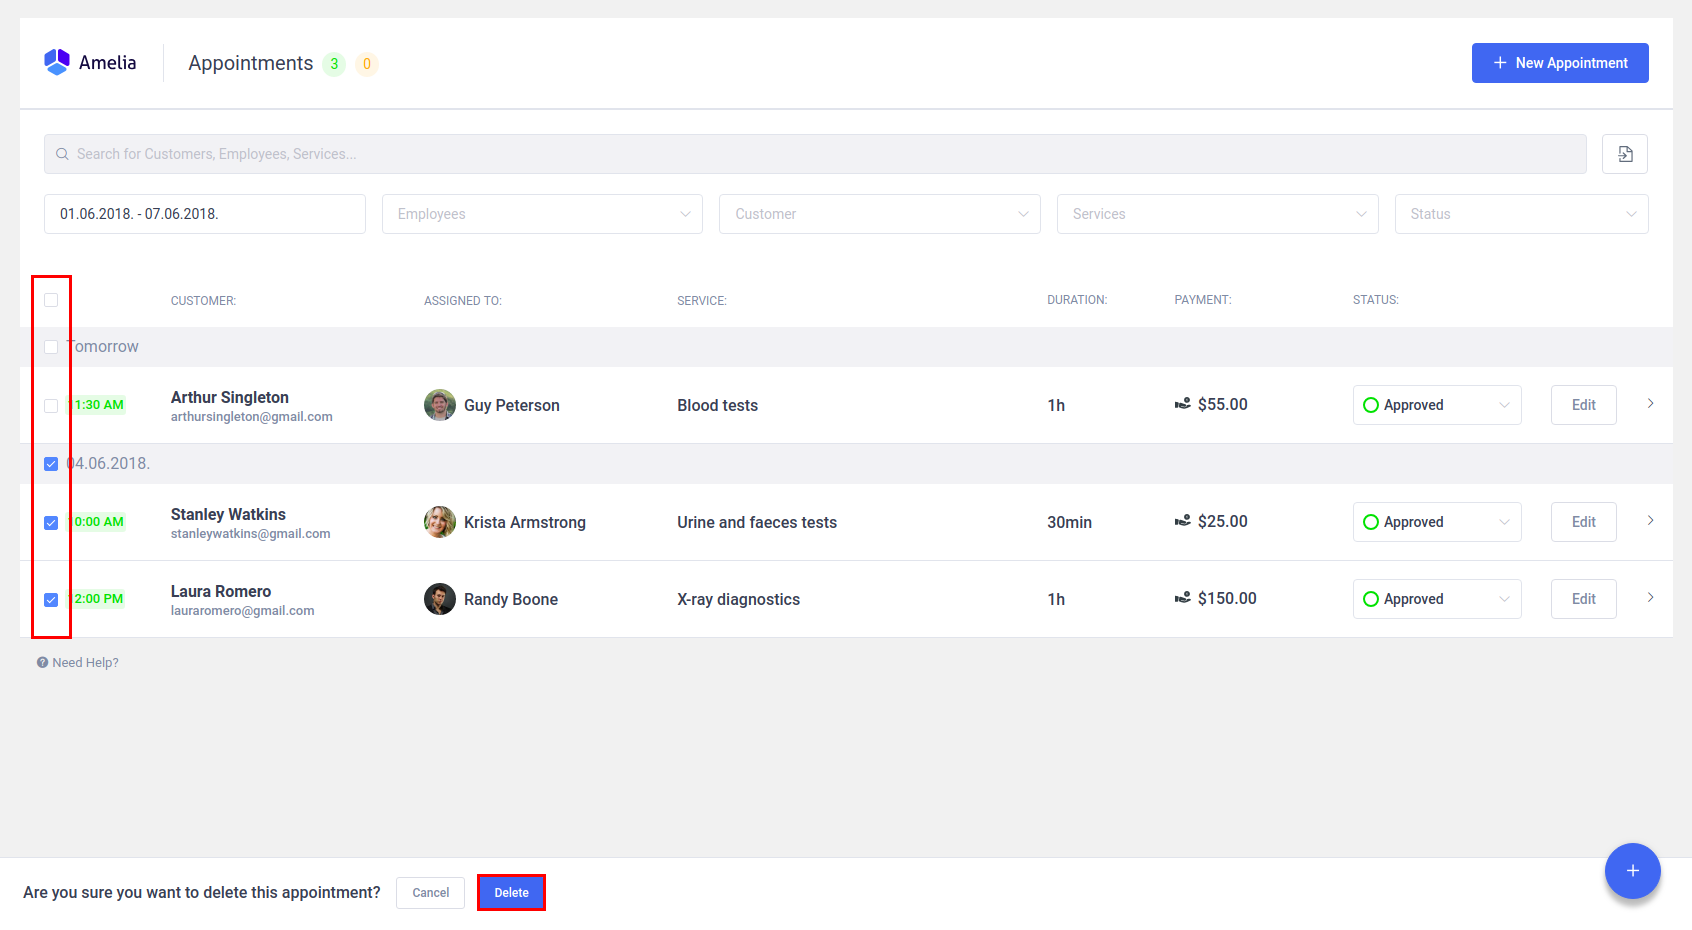
The appointments table is grouped by date and provides information about the appointments such as time, a customer(s), employee, service, duration, payment, and status. You can expand an appointment (row) by clicking on it. An expanded record shows the information about the customer’s phone customer’s email. You can use the “Status” drop-down to change the status of all customer bookings at the time. Click the “Edit” button to open the “Edit Appointment” dialog for the chosen appointment.
ou can delete multiple appointments at the same time by checking the appointments you want to delete. The dialog box will appear in the table footer when you check at least one appointment you want to delete. Once you are certain you want to delete the records click the “Trash” icon and then the “Delete” button.
