Payments
The “Payments” page shows the information about individual payments. To specify the number of records that are to be displayed at one time, select the required number in the “Default items per page” in the “General Settings”.
Payments for appointments and events are stored on the same screen and you’ll be able to see what the payment is for in the “Service/Event” column. Since the events have the option for assigning multiple employees, in the “Employee” column you can see multiple employees assigned.
With the filters that appear at the top of the page, you can narrow the results by common characteristics such as date, customer, employee, service, status, or event. The date filter is predefined by the period of seven days starting from the current date but you can change to some other period and the plugin will remember this in all date filters.

The date filter shows the transactions based on the date when they were made. For example, if a customer booked an appointment on February 2nd, 2023, but their appointment is booked for August 3rd, 2023, you’ll need to select February 2023 in order to see this transaction.
Your payments can be exported to a CSV file for reporting. At the top right of the “Payments” page and next to the filters, just tap the “Export” button. Clicking on the “Export” button opens a dialog that allows you to choose the delimiter used for CSV and to select the columns you’d like to export. When you are ready, tap on the “Export” button in the dialog to download the CSV file.
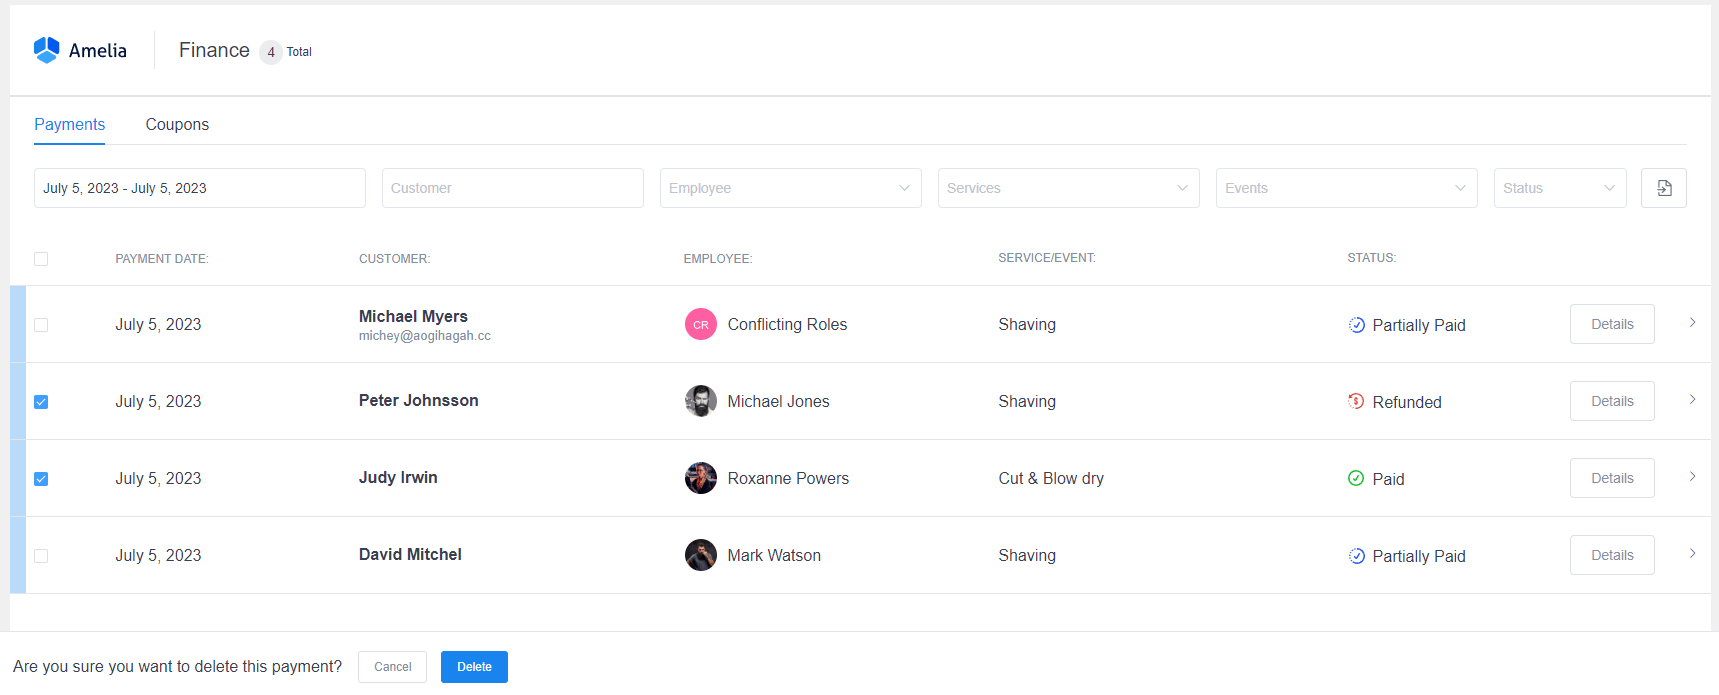
The payments table provides information about the payments such as the payment date, customer/attendee, employee, service/event, and status. You can expand a payment (row) by clicking on it. An expanded record shows the information about the appointment or event date, payment method, and the amount paid for the booking.

Payments passed through online payment methods (PayPal, Stripe, Mollie, RazorPay, or WooCommerce) automatically have a “Paid” or “Partially Paid“ status. For a payment using an “On-site” method, the payment status and paid amount have to be updated manually. Click the “Details” button to open the details dialog for the chosen payment. Here you can see the detailed information for the individual payment, change the payment data, refund, or delete the payment. By clicking on the “Pen” icon in the dialog footer, a small dialog will appear from where you can update the paid amount and the payment status.
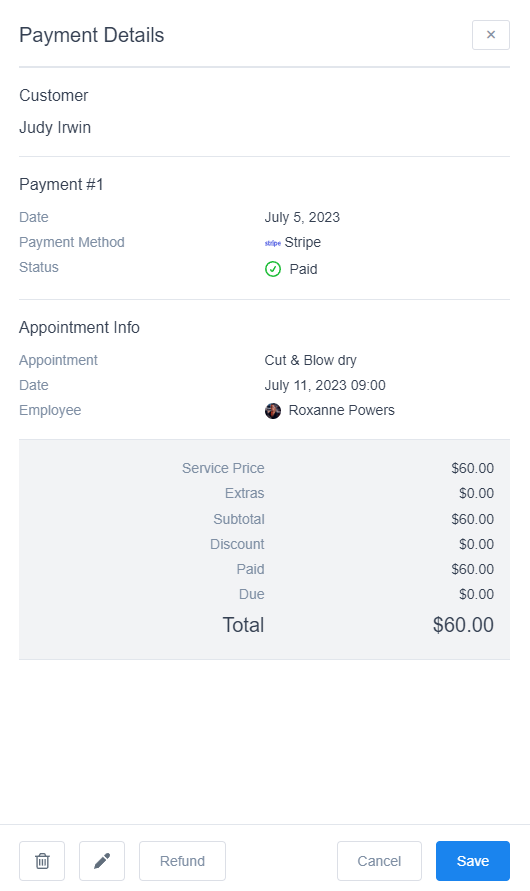
Using the “Refund” button at the bottom of the “Details” window, you can initiate a refund that will be processed through the online payment provider used to pay for the appointment/event.
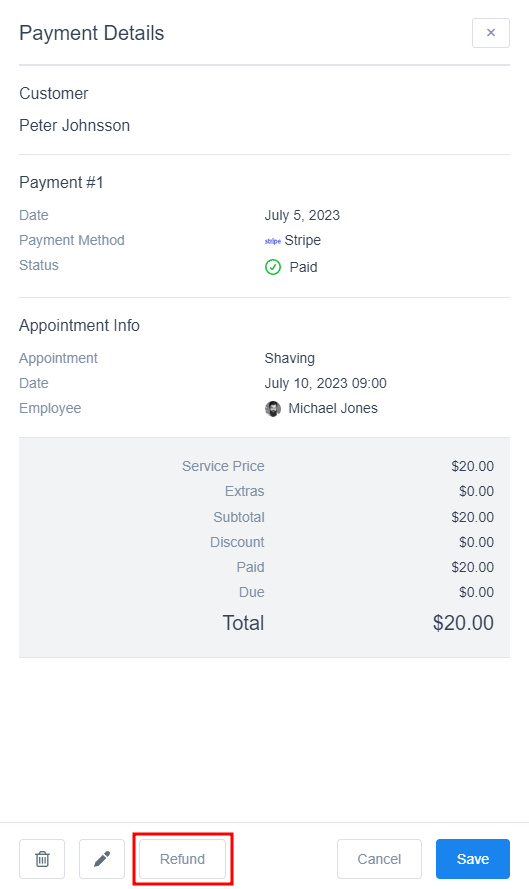
Once you click it, Wellness Unity will ask you to confirm this action:

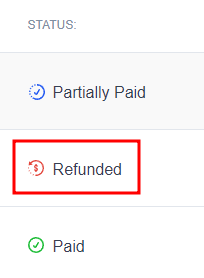
After the refund has been completed, the status of the transaction will change to “Refunded”.
Please note:
- The Refund feature is included only in Pro and Elite license plans
- When using Mollie as a payment gateway, payments collected via payment links through emails or the customer panel cannot be refunded through Wellness Unity because it is not possible to collect the transaction ID from Mollie once payments are processed through the “Payment via Link” option.
You can easily delete multiple payments by checking those you want to delete. A dialog box will appear in the table footer when you check at least one payment you want to delete. Once you are certain that you want to delete the records click the “Trash” icon and then the “Delete” button.
Coupons
Please note: The prerequisite for configuring coupons is to enable the “Coupons” option in the “Payments Settings”.
Once you enable the “Coupons” option in Wellness Unity’s Payment Settings, the Coupons tab will show up on Wellness Unity’s “Finance” page. It allows you to create promotional coupons to reduce the prices of appointments, events, or packages by a percentage or a fixed amount.
You can use filters to display specific records for a coupon code and the services, events, or packages for which customers can apply coupons. Coupons can be exported to a CSV file by clicking on the “Export” button. Clicking on the “Export” icon button opens a dialog allowing you to choose the delimiter used for CSV and select the columns that you’d like to export.

The Coupons table shows information about the coupon code, percentage off, fixed amount off (deduction), service(s), package(s), and/or event(s) where the coupon can be applied, usage limit, how many times the coupon was used, and the expiration date of the coupon.

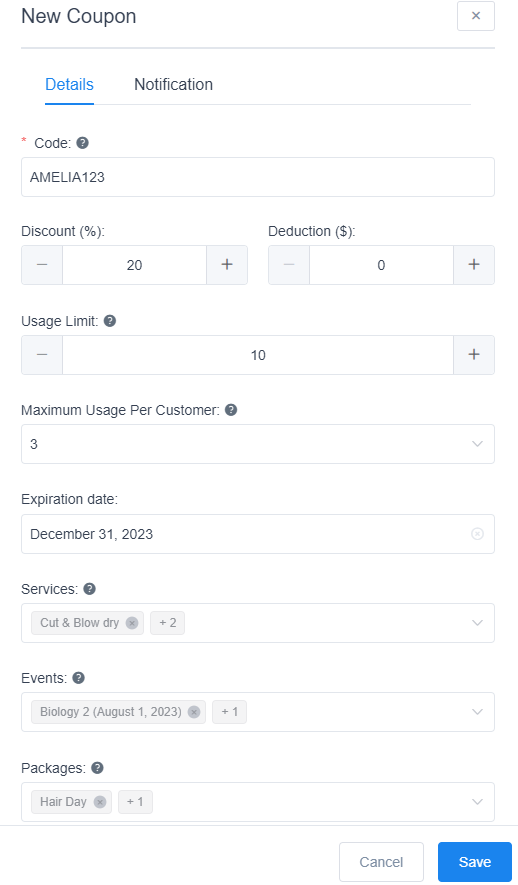
To create a new coupon simply click on the “+ New Coupon” button located at the top of the page. After opening a dialog you need to provide the “code” for your coupon (coupon name that customers will enter to get a discount), “discount” (expressed in percentage), “deduction” (reduced amount of selected “Currency” setting in the “Payments Settings”), the usage limit, the usage limit per customer, the expiration date of the coupon, and select the Service(s), Package(s), and/or Event(s) the coupon is valid on.
There are several options for the automatic sending of coupons, so you will also see the tab called “Notifications”.
In the “Notifications” tab you can now set “Notification interval” and define after how many scheduled appointments, packages, or events the customer will receive the coupon code in the notification automatically. Also, you can enable the option “Recurring notification” if you want to send this code again in case the customer didn’t use the code for a discount.
Once you are done entering the coupon information, simply click on the “Save” button and the newly created coupon will appear together with other coupons in the list. Once you create a coupon, customers can enter the coupon code on the “Confirm Booking” modal to reduce the price of their appointment.
Please note:
- In order for the coupon code to be sent, you need to paste the coupon code placeholder into the notification template (found in the </>Email Templates menu in Wellness Unity/Notifications)
- If the customer used the coupon code, it will not be sent again in the notification even though you have enabled the recurring option
- The coupon code will be sent after the customer schedules X number of the same appointments (with the same services)
- As for the events, the coupon code will be sent after the attendee books an X number of different events
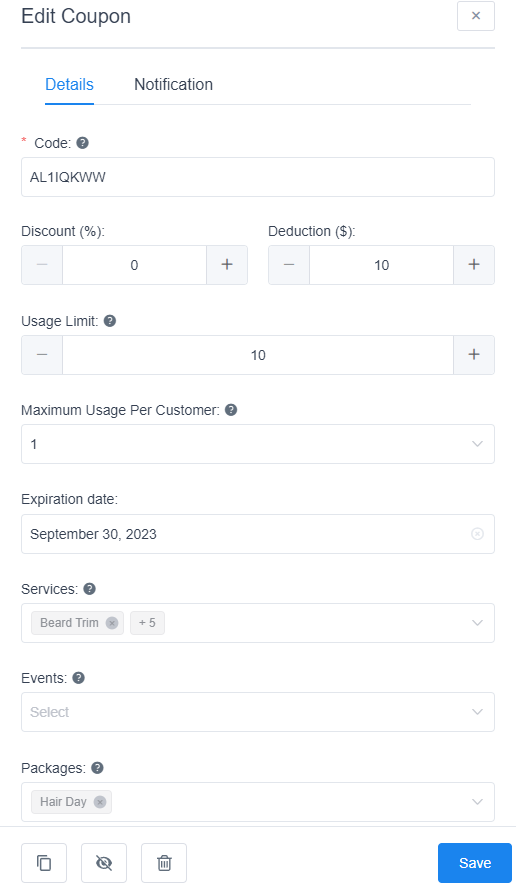
To edit an existing coupon, click on the “Edit” button to the right of the coupon you want to change. Clicking on the “Edit” button will open an edit dialog that allows you to update the data in existing coupons. From the dialog, you can also duplicate, hide and delete a selected coupon by choosing one of the actions in the dialog footer.
You can delete multiple coupons at the same time by checking the coupons you want to delete. The dialog box will appear at the bottom of the page when you check at least one coupon you want to delete. Once you are certain that you want to delete the coupons click the “Trash” icon and then the “Delete” button.